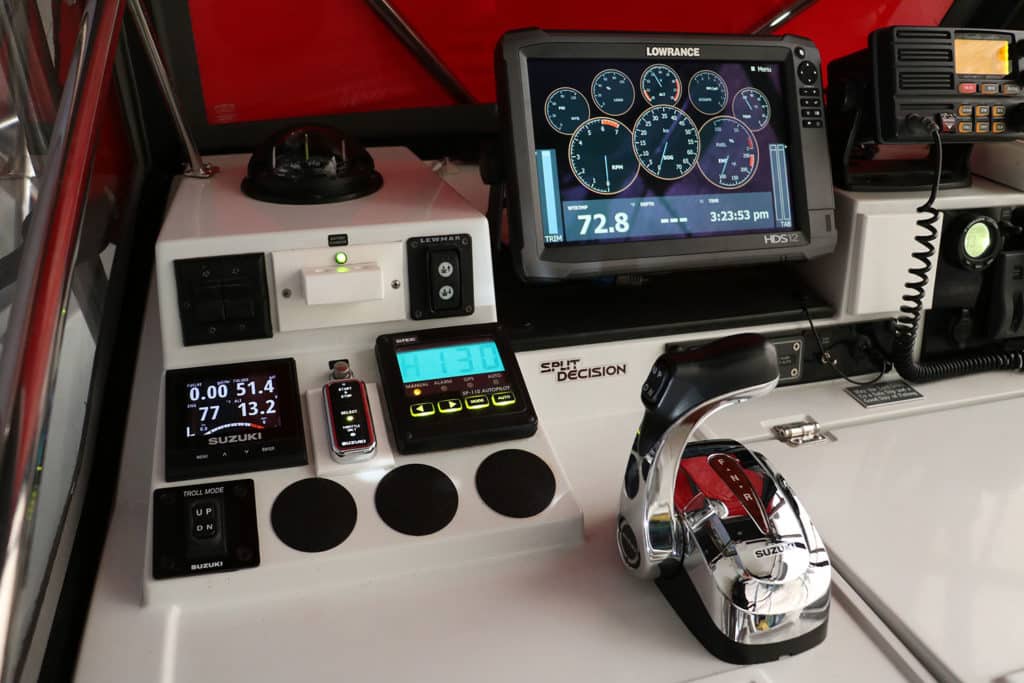
Checking on the function of your marine electronics ahead of time may help save a trip. I know. I’ve been there.
Just a few weeks ago, I flipped on the main breaker that energizes my boat’s electronics, but got nothing. Neither the main multifunction display, engine displays, VHF radio, autopilot, radar, AIS or sea-surface temperature gauge powered up. Ugh!
Obviously, something systemic was amiss. The good news: There were still two days left before our trip, giving me time troubleshoot and fix the problem.
I eventually tracked it down. The old switch I used to change from the house to the starting batteries (in case the house battery failed) was corroded. I changed out the switch in an hour, forestalling a ruined day.
Here are 5 steps I take when conducting a pre-trip electronics check.
Voltage Check
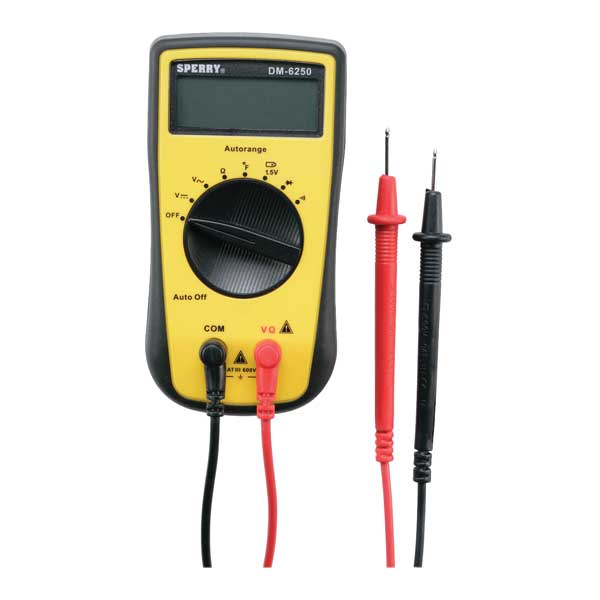
The first order of business: Make sure that boat battery or battery bank is up to snuff. Used a portable multimeter on the terminals to check without the charger hooked up or the engine running. You should have a reading of between 12 and 14 volts DC. If it is less than 12 volts, you’ve got an issue. Either the battery needs charging or you have a bad cell. If still reads less than 12 after charging, have the battery tested and, if bad, replaced.
Power Up
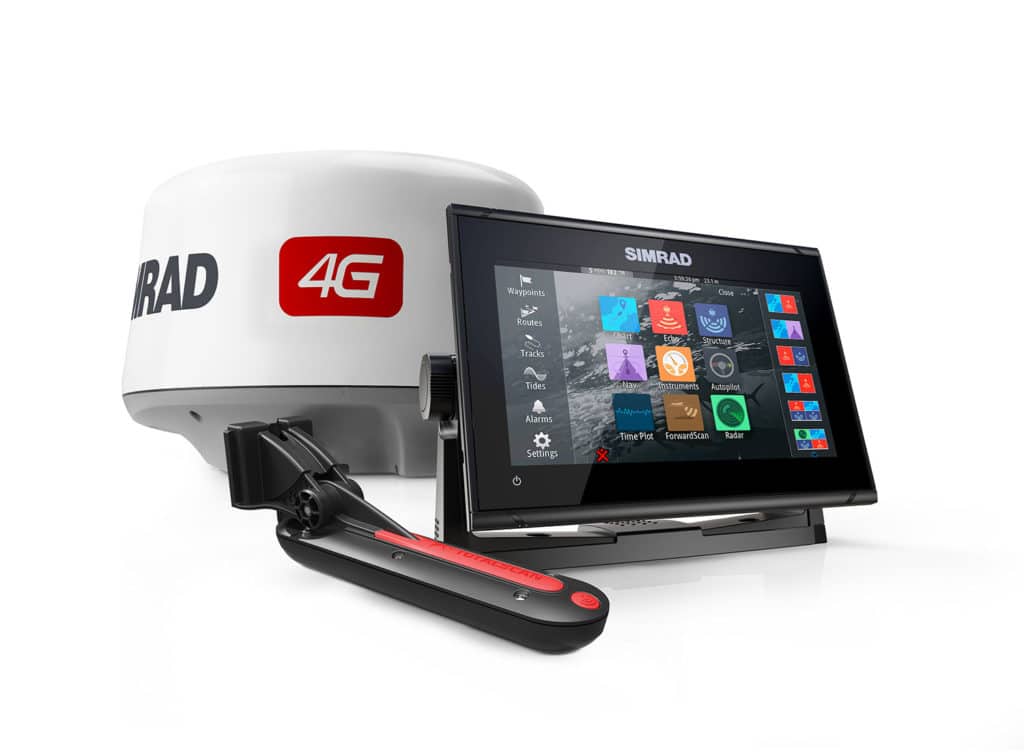
Flip on the circuit breaker(s) for your marine electronics and turn on each piece (and each function of the MFD) to make sure everything is operational. Many marine electronics items give you a warning if receiving less than optimal volts. This could mean the battery is low. It could also mean the battery is fine, but insufficient voltage is reaching that piece of equipment. If the battery checks out, use your Multimeter to find out where along the line the resistance is occurring and fix it before your trip.
Connection Inspection
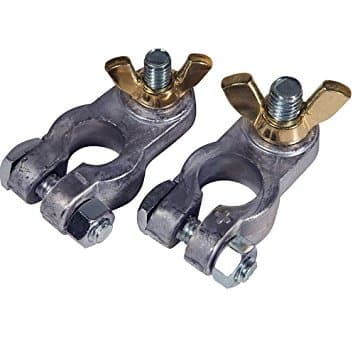
Many times, when insufficient voltage is reaching your electronics, it is because of a loose or corroded connection. This could be either a DC positive or DC ground wire. In the majority of instances, the connector has corroded, resulting in resistance that reduces voltage delivery. Inspect battery terminals, switches, ring connectors and butt connectors. Corrosion often takes hold first at these points. Replace any that look suspect. Make sure all connections are tight.

Charge Handhelds
In addition to permanently installed electronics, check your mobile marine electronics such as your handheld VHF, backup GPS, FLIR handheld scope, PLB or EPIRB, as well as your flashlights. Make sure the batteries in each are fully charged. Test the unit to make sure it works. Special procedures are required for testing PLBs and EPIRBs, so following the manufacturer’s instructions to avoid inadvertently sending an emergency distress signal.

Avoid Last-Minute Drill
Don’t wait until the night before a trip to check your marine electronics. Do it two to three days ahead of time. This gives you some time to troubleshoot and get things fixed or replaced, rather than scrub the trip, should you find a problem. This can lead to a trip remembered for catching fish rather than one beset by electrical glitches.


