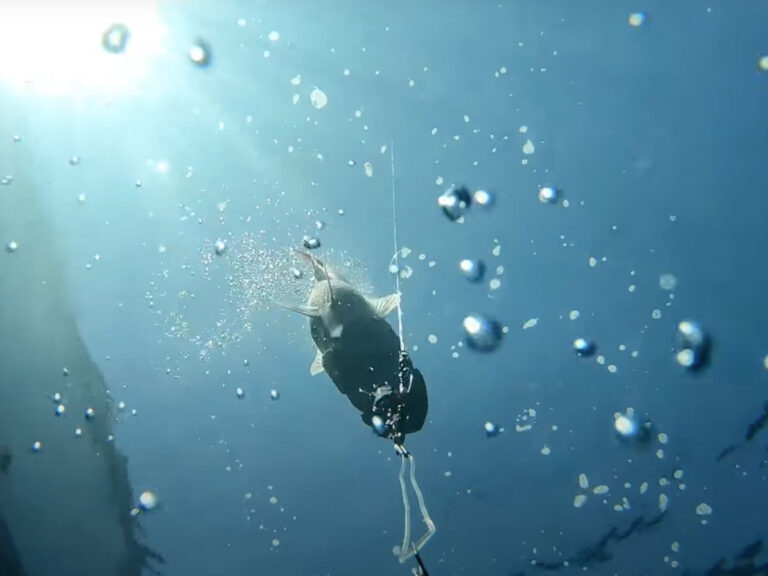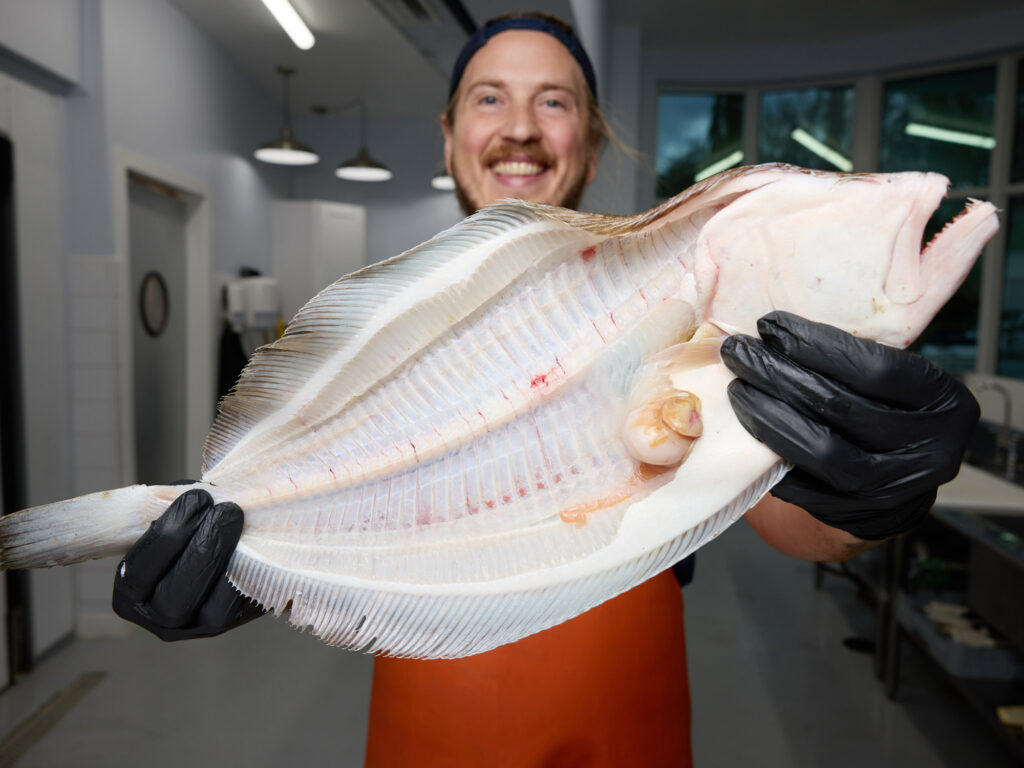
Flounder (Paralichthys lethostigma) is one of the best eating fish a marsh has to offer. They may look weird, but it’s surprisingly easy to fillet flounder. Unlike their relatives, fluke (summer flounder, Paralichthys dentatus) and winter flounder (Pseudopleuronectes americanus), the southern flounder has adapted to living in extremely low salinity, allowing them to travel deep into the marsh.
These fish are ambush predators and masters of camouflage. They have special cells in their skin called chromatophores, which allow them to change their skin color and pattern to blend into their environment more effectively. By expanding or contracting these chromatophores, flounder can rapidly match the surrounding substrate, such as sand, rocks or seaweed.
Prepping to Fillet Flounder on the Water
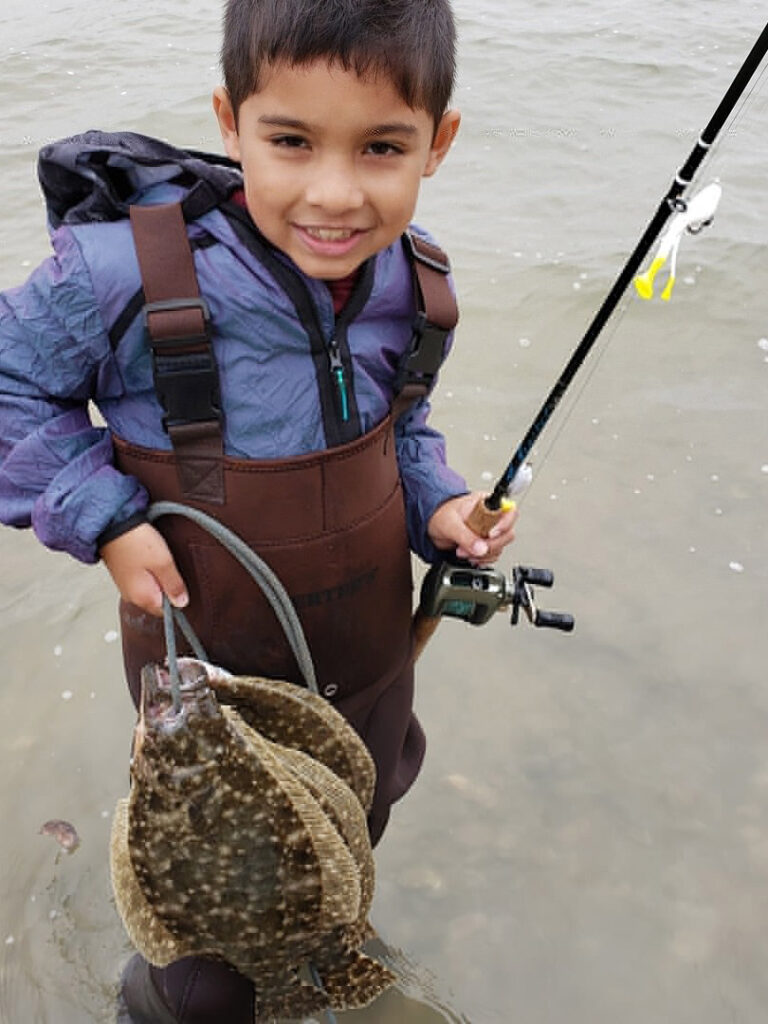
If you’re fortunate enough to snag a keeper southern flounder, here are some things to consider. While marsh fishing, you may not want to drag a cooler around with you—and I don’t blame you—but the fact is, the faster you get your catch below 40 degrees F, the better the quality of your fish. Period. Shelf life, texture and flavor are all reduced if the fish isn’t buried in ice immediately.
Another thing to consider is using a pocketknife or pliers to brain-spike your flounder. Finding the brain of your fish is easier than you think! Locate where the lateral line and the gill plate meet, and you’ll find the brain. Once spiked, rip out one of the gills, bury the fish in ice, and you’ll have the best-tasting southern flounder fillets you’ve ever had.
Fillet Flounder Correctly
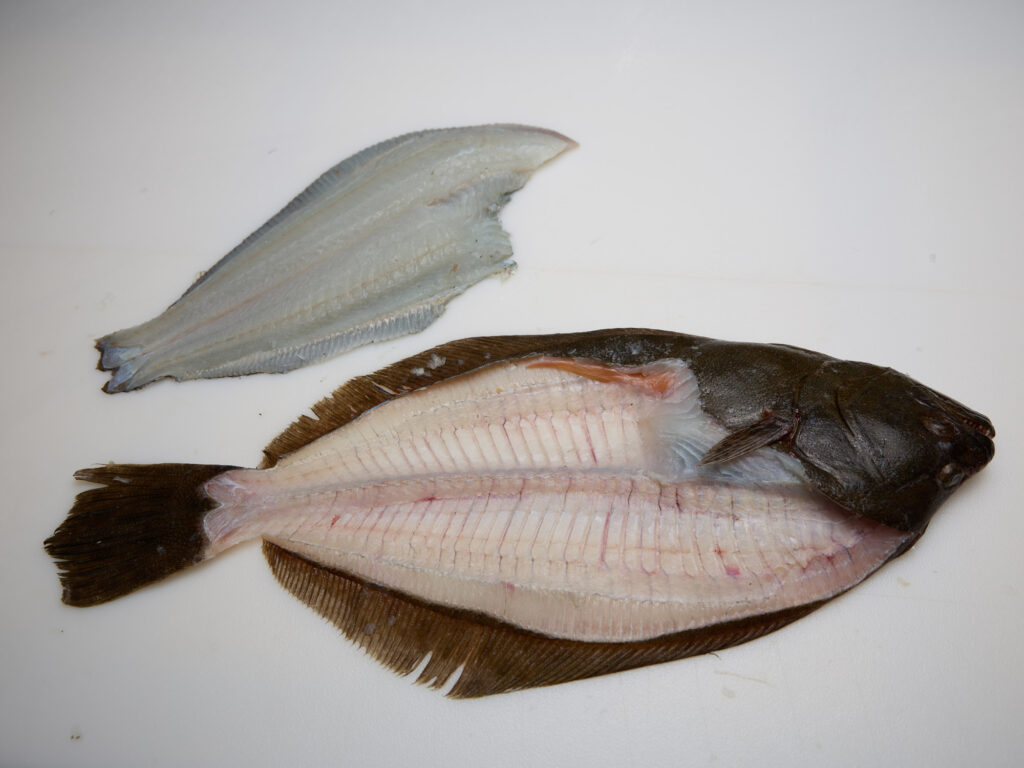
The final step after catching this prized marsh fish is a perfect fillet. Flounder is a fish many folks have opinions on when it comes to the “right” way to fillet it. Here’s how I fillet flounder for maximum yield and efficiency in my fish house.
Step 1: Start on White
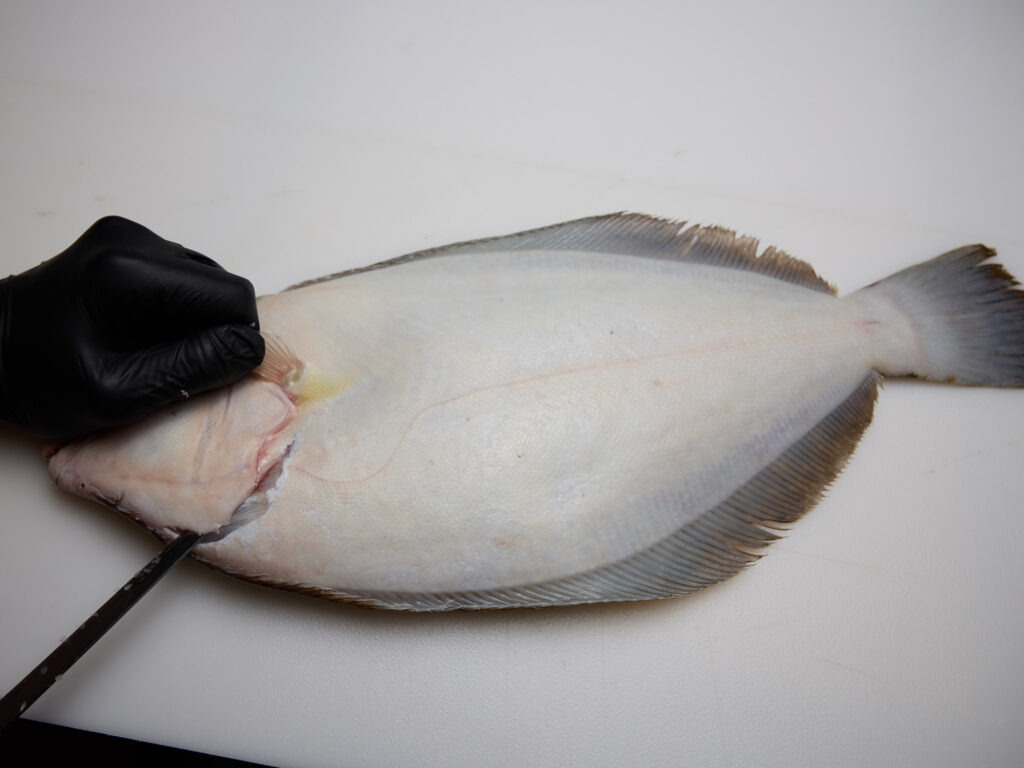
Always start with the white side, which is thinner than the brown side. This ensures that when you cut the brown side second, the spine has less of a curve, making it easier to handle.
Step 2: The First Cuts
Begin by picking up the fin and making a slight slit behind the head. Turn your knife blade toward the tail and make a cut along the dorsal fin all the way down to the tail. It’s important to cut deep enough so your blade passes just beyond the ribbons (the pockets of fat that run the perimeter of the fillets) and rests on top of the skeleton.
Step 3: Free the Fillet
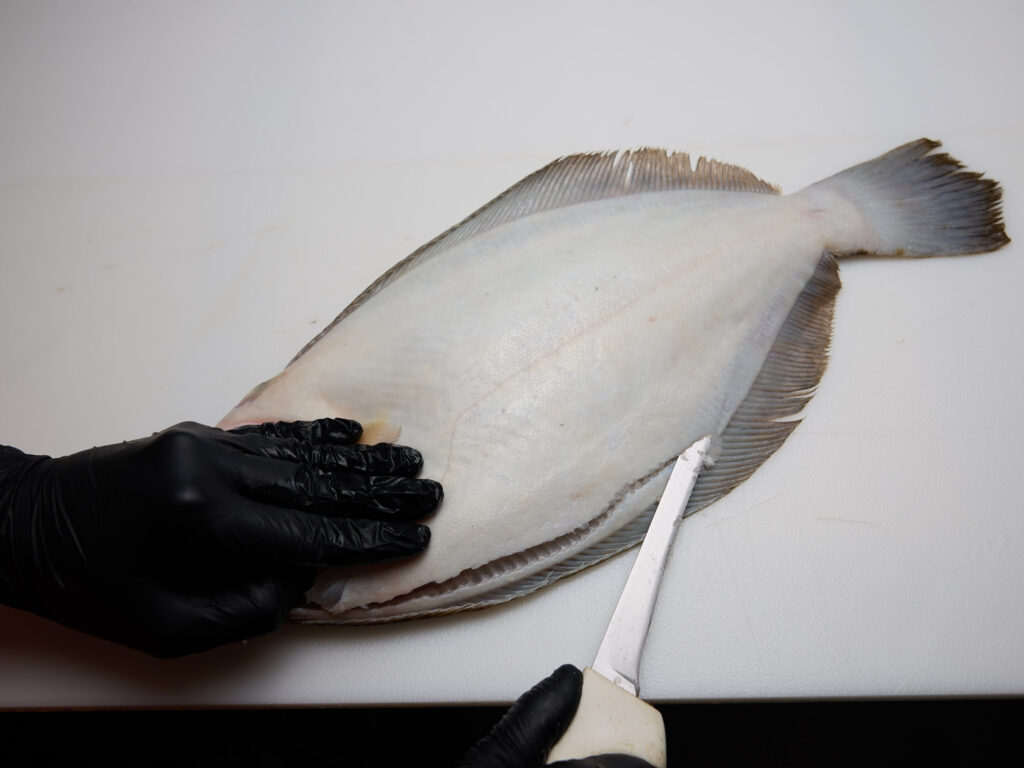
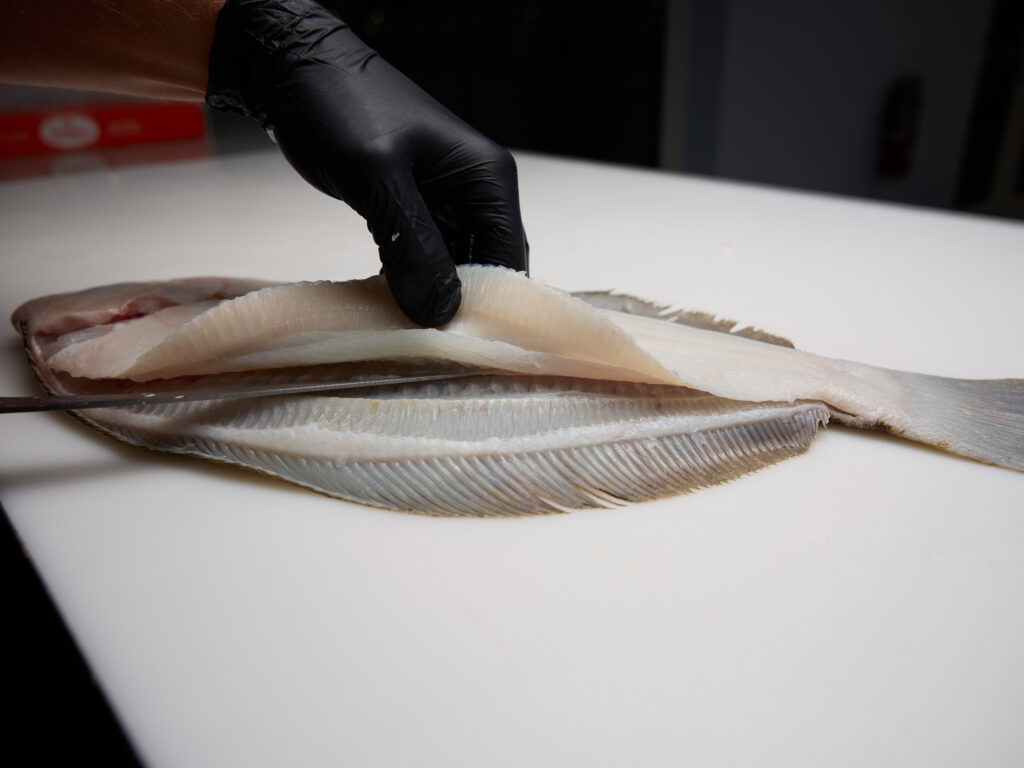
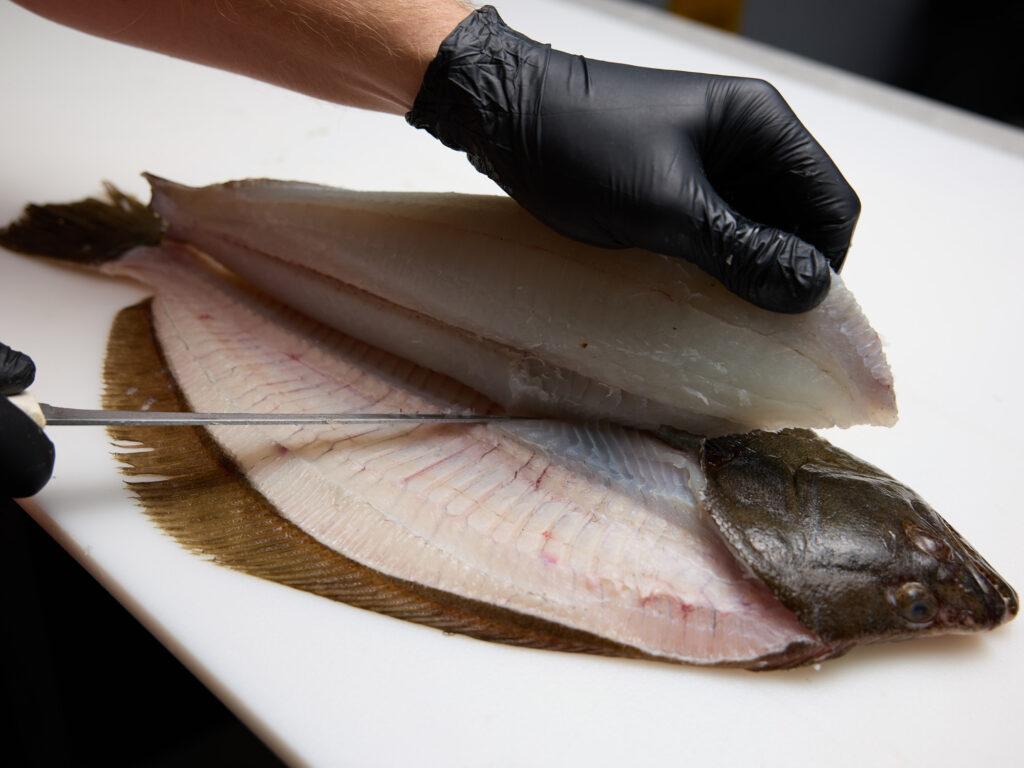
After the initial cut, rest your fillet knife on the skeleton and make long, smooth motions toward the center spine. Once you reach the center spine, place the tip of your knife at the base of the ribs, angle it slightly upward, and push forward to separate the connection between the pin bones and the ribs.
Step 3: Flip and Repeat
You can then lift the head portion of the fillet and finish the second quarter. Flip the fish and repeat the process on the other side.
Step 4: A Cheeky Bonus
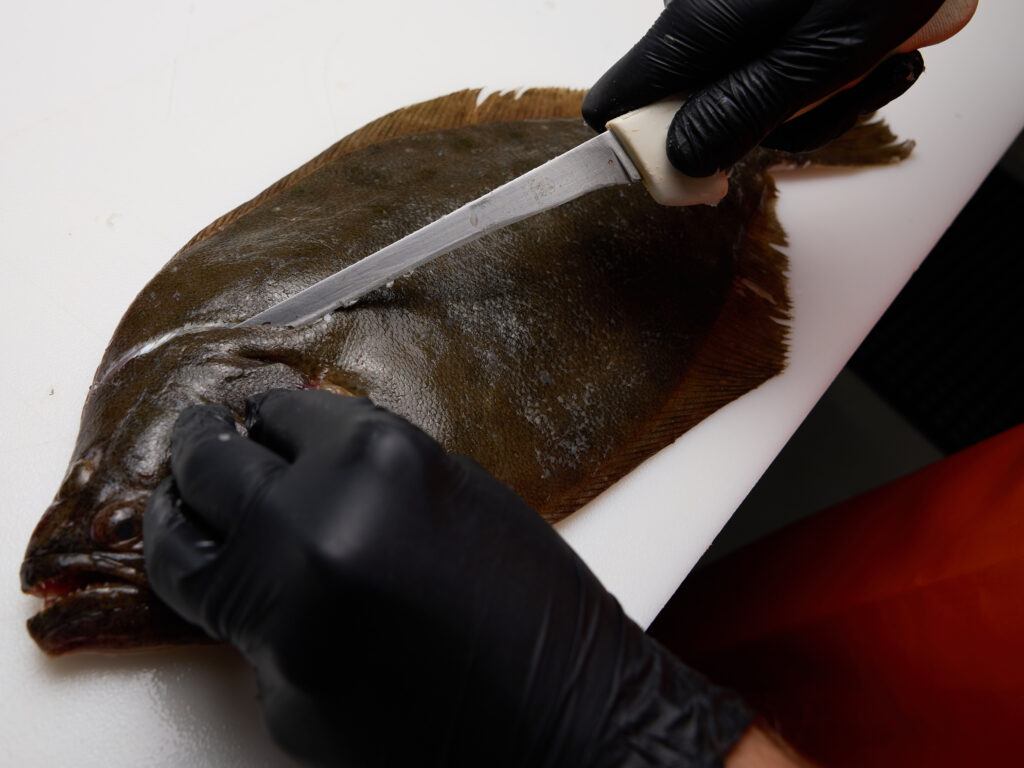
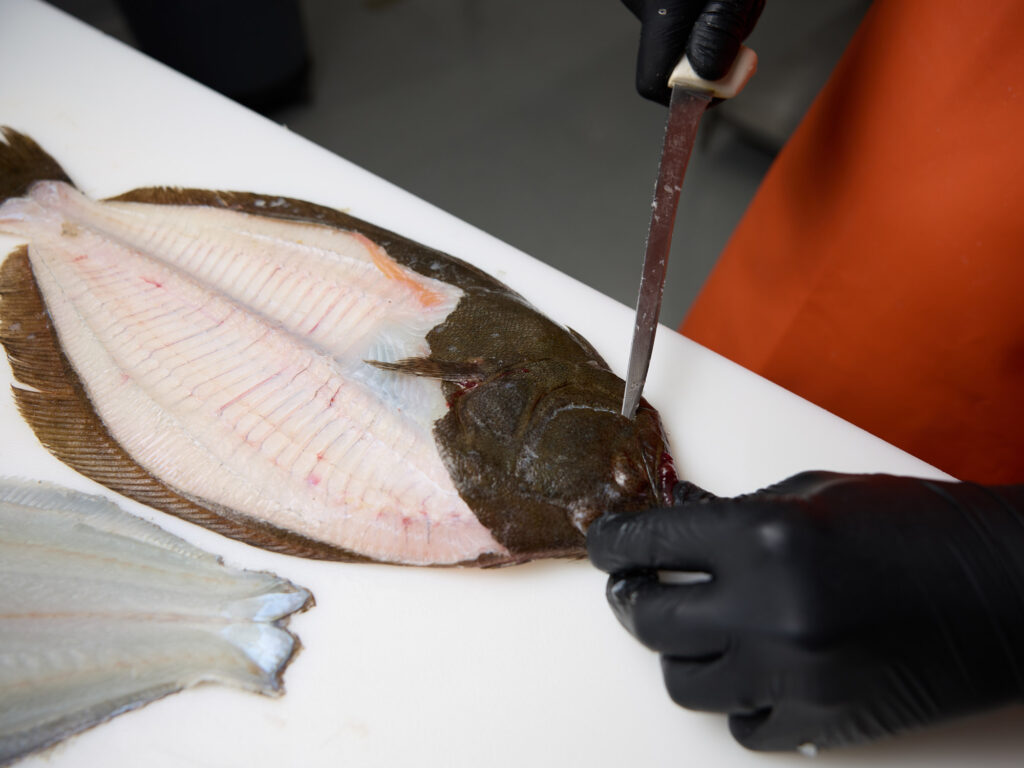
If you’ve caught a “doormat” flounder (an extra-large one), don’t forget to harvest the cheeks—they’re a delicious bonus!
A Tip from The Fishmonger
Flounder is incredibly versatile. Unlike other light, mild, flaky fish, you can stuff and roll flounder fillets without them falling apart. To do this, lay your flounder fillet flat, spread your favorite stuffing mixture on top and roll the fillet from the tail end to create layered stuffing throughout. My go-to stuffing is lump crab meat, stone crab mustard sauce, parsley, salt and pepper.

