Flutter-style irons revolutionized deep-jigging, especially for catching pelagics. Old-school arrow and lima bean jigs, once standard for bottomfish and pelagics, eventually morphed to more elongated, wider and flashier versions. Why the changing of the guard? Catching fish on traditional deep jigs hinges largely on angler technique, whereas flutter-style irons do most of the work themselves. Popular flutter jigging styles include high-speed, slow-pitch, and a more common midspeed approach. However, there is a fourth tactic finally getting the spotlight it so rightfully deserves—one I like to call “mudding.” This tactic targets bottomfish nearly exclusively. It’s easy to master and requires little energy; any sore arms will come only from fighting fish.
Thank You, Cod Anglers
Before flutter-style jigging was even a blip on the recreational fishing radar, I spent a day diamond-jigging for cod off Maine with the late Barry Gibson, then the editor at SWS. He instructed me to first bounce the iron along the bottom several times. He claimed the resulting tapping vibrations could be interpreted as a crustacean, which would surely attract codfish. This proven tip continues to be a big part of my jigging strategies to this day. Vibrations make a big difference, and they are a trait of mudding.
As hinted earlier, mudding isn’t a new technique. It was merely buried by faster and more aggressive flutter-style jigging. Though flutter-style jigging scores bottomfish, it’s intended mainly for pelagics in the middle to upper columns. By comparison, mudding is a tactic exclusively for bottomfishing.
A mudding-style iron way ahead of its time was Williamson’s EBI jig. Compared to the bulk of sleek and racy flutter-style entries, this design was more rotund and compact, brightly painted, skirted, and came complete with a pair of small assist hooks. It was designed to bounce along the bottom, where it would emit vibrations and displace mud and sand. It was dramatically different from what was out there at the time.
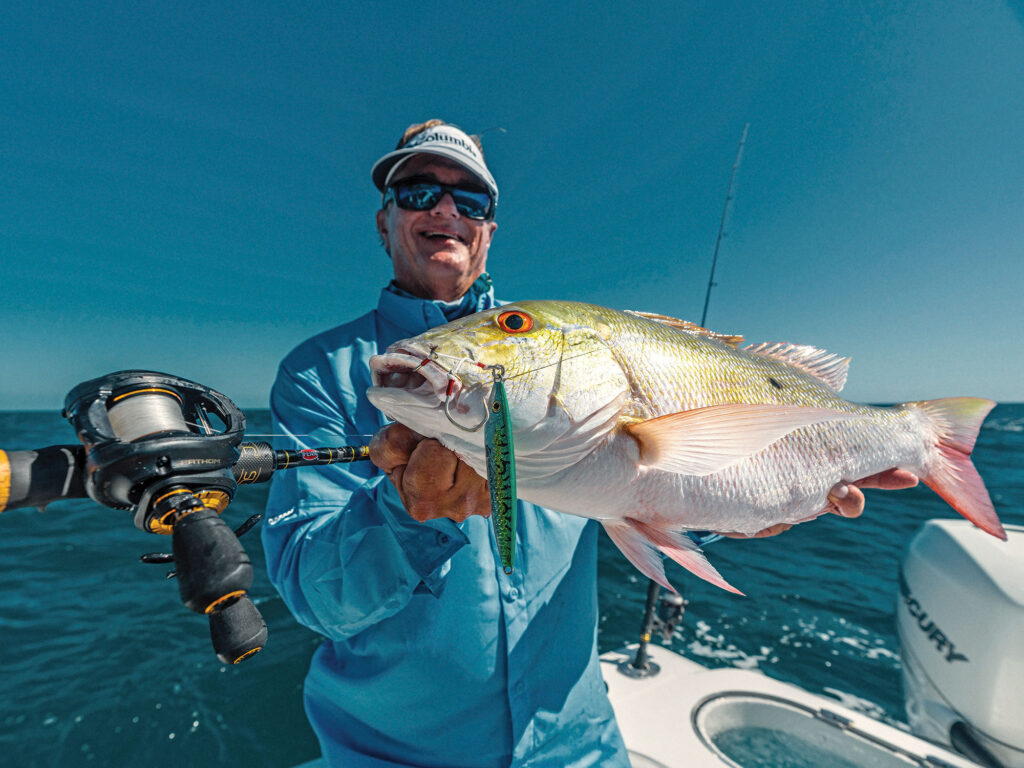
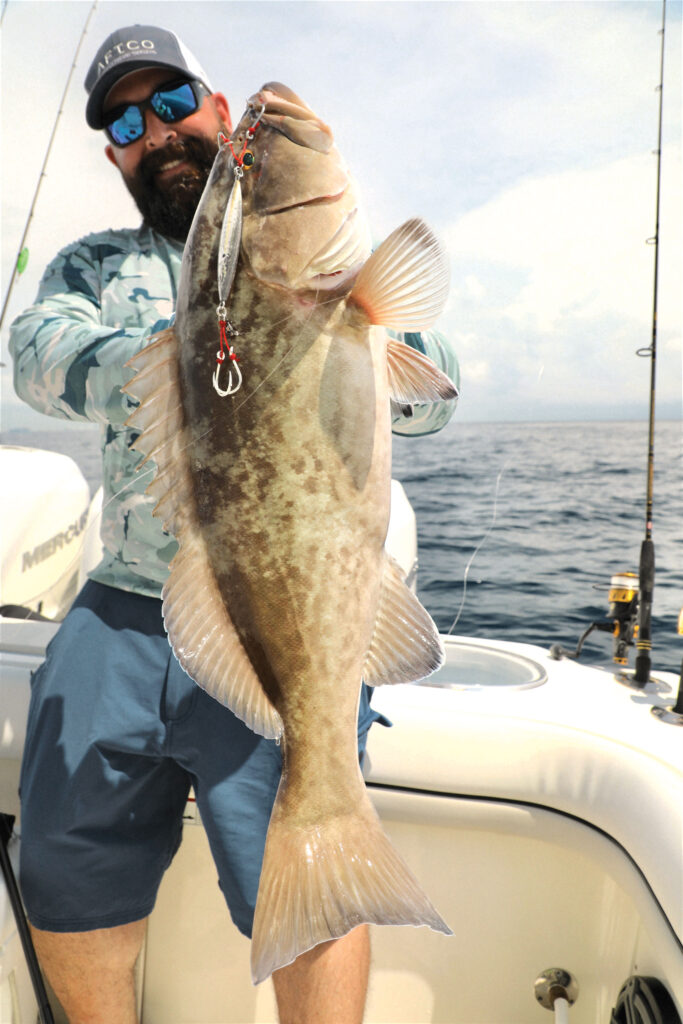
The EBI jig and Williamson’s Raku jig were top mutton snapper producers for me. Ditto for grouper, cobia and even inshore fish at the inlets. Unfortunately, these two jig styles were so far ahead of the times, they never caught on. Apparently, I loved to use them more than other people, and both jigs were retired. (Anytime I can find them on the internet, such as eBay, I buy them up.)
Old is New
The late, great Mark Sosin once said: “You spend decades in this business and, all of a sudden, you’re an overnight success.” This pretty much sums up the mudding jigging tactic—even though it was around for a long time, it’s just now catching fire. The technique is becoming so popular that flutter-style jig manufacturers are ramping up designs and the accompanying hype.
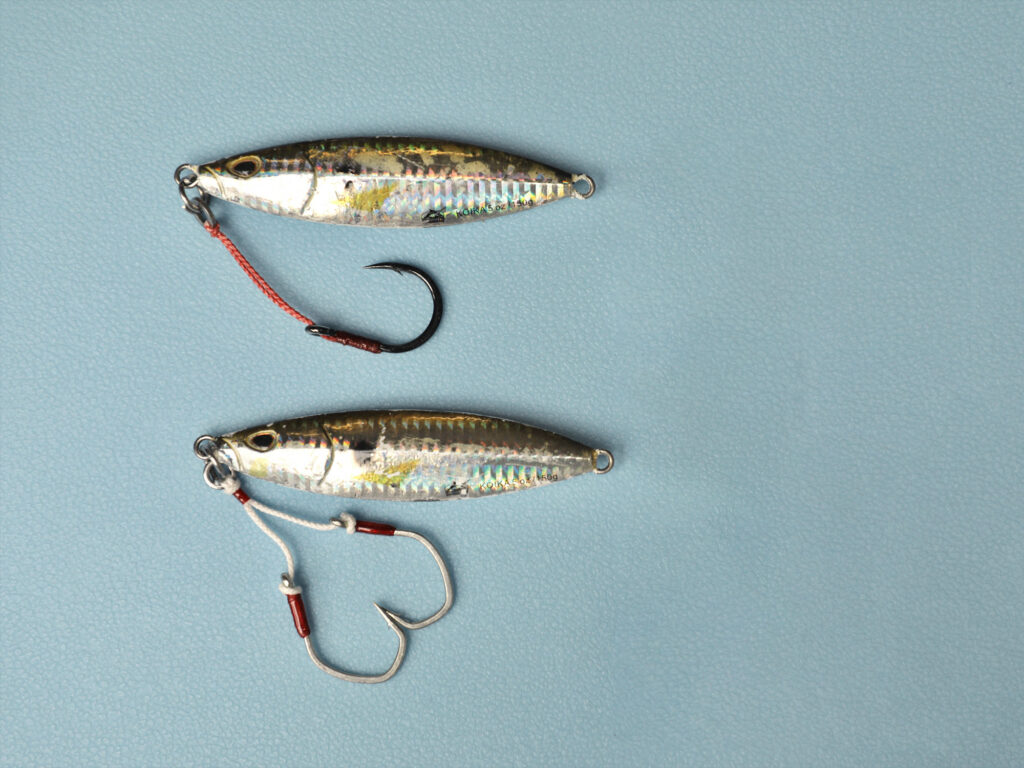
Mudding-style irons are mostly compact and designed to land belly-down on the bottom, where they can be paused in between hops. Based on the manufacturer, some are offset-balanced or slightly concave for enhanced actions and vibrations while dancing along the bottom. They’re more in line with old-school jigs, in that anglers must impart the finesse that provokes strikes.
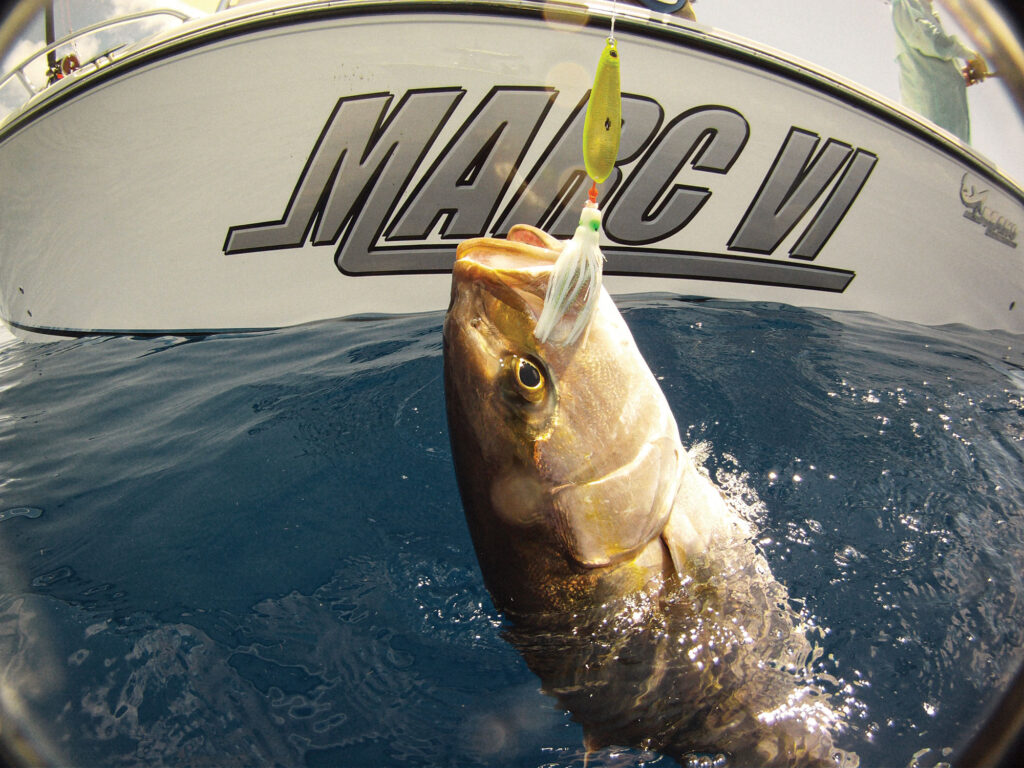
Williamson’s mudding entries include the Koika and Kensaki jigs; the latter also pulls double duty for pelagics. The Abyss Speed jig can be adapted for mudding work by simply tying to the midship ring on top of its back; doing so enables it to land lengthwise on the bottom, kicking up more marl. It’s a formidable iron for those extreme deep drops. Williamson is not the only maker to produce jigs for mudding; your favorite jig company undoubtedly has options available.
Traditional flutter-style jigs can be adapted for mudding. The shorter, broader entries are best. Remember, you’re targeting bottomfish, so the more bite-size that iron is, the better the hookup. I also double my odds by swapping out any single assist hooks with dual assist hooks. What’s more, the twin assist hooks flailing about also add action.
Getting Dirty in the Mud
When mudding for bottomfish the likes of snapper and grouper, I’ll rig mostly with 30-pound fluorocarbon leader, bumping up to 40- or 50-pound for larger body brutes along deeper reefs and wrecks. The main line is 30-pound braid, with 50-pound getting the nod around high-profile structure.
Out deeper, I decrease the braid to 20- and even 15-pound-test, which cuts through the water with minimal drag. Going lighter in deeper water seems counterintuitive, but you’ll get down faster and often with a lighter jig.
Once the jig hits bottom, I’ll let it remain there for 30 seconds or so, prior to short-hopping it on and off the bottom. The goal is to keep tapping the ocean floor and creating puffs of substrate. After a half-dozen or so bottom taps, I’ll increase my jigging window to 5 or 6 feet off the bottom. That is, I’ll touch bottom, short-hop the jig up 5 or 6 feet and repeat. I’ll let the jig settle back on the bottom for a few seconds, then repeat the series of taps and elongated retrieves.
Read Next: Why Jigging is Better Than Trolling
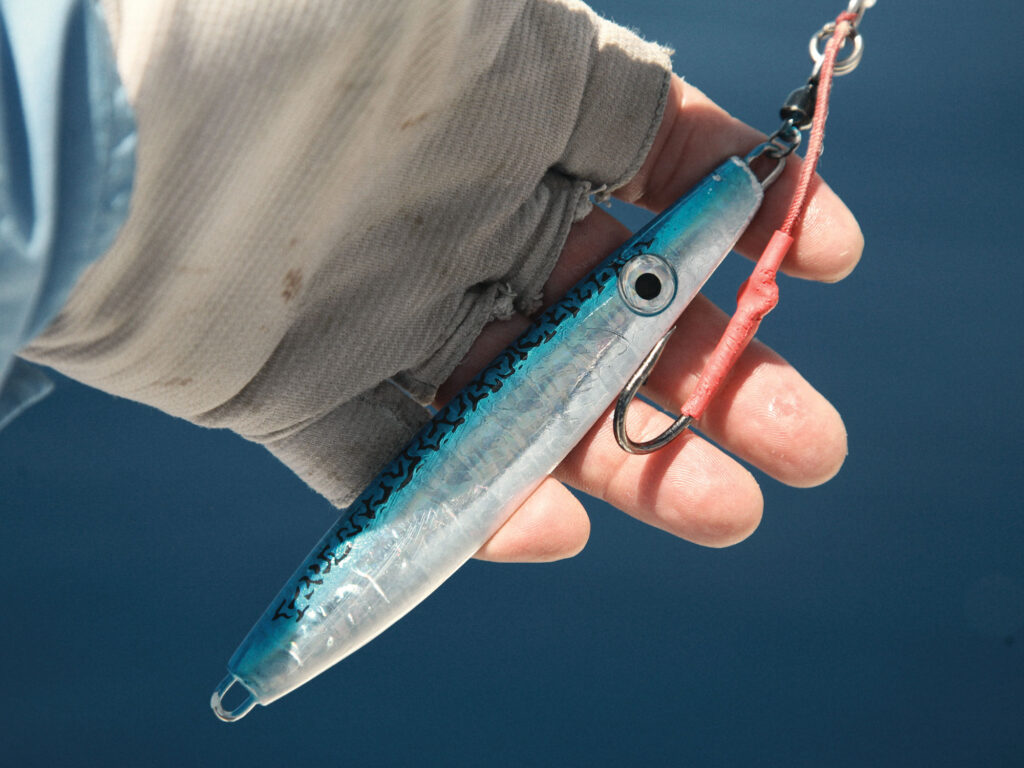
The tactic above is for minimal-threat bottom structures, like sandy bottom interspersed with sea fans, small rock piles, scattered reefs, and other low-profile structures. Adjustments are necessary for high-profile structures. However, the goal remains the same: Make sure to get in those bottom taps, no matter how brief.
With all this said, these jigs still work well when they’re not rooting around in the mud. Make sure to work your jigs all the way up through the water column when reeling back to reset the boat. Yes, they have a tighter, more vertical action than midwater designs, but they still often get nailed by jacks and
mackerel in the shallower depths. There’s nothing wrong with great bonus action when you’re prospecting for bottomfish.


