Yellowfin tuna, the prized catch of many anglers, is also a delectable meal. When it comes to cleaning your yellowfin, consider taking matters into your own hands instead of leaving it to the deckhands or fish processors. Filleting your own tuna ensures that every bit of meat is preserved. You can also make sure no one is hosing down your tuna meat with fresh water. If you didn’t know, fresh water can actually compromise its texture, flavor and shelf life.
Follow these steps to fillet your catch:
Remove the Head and Collars
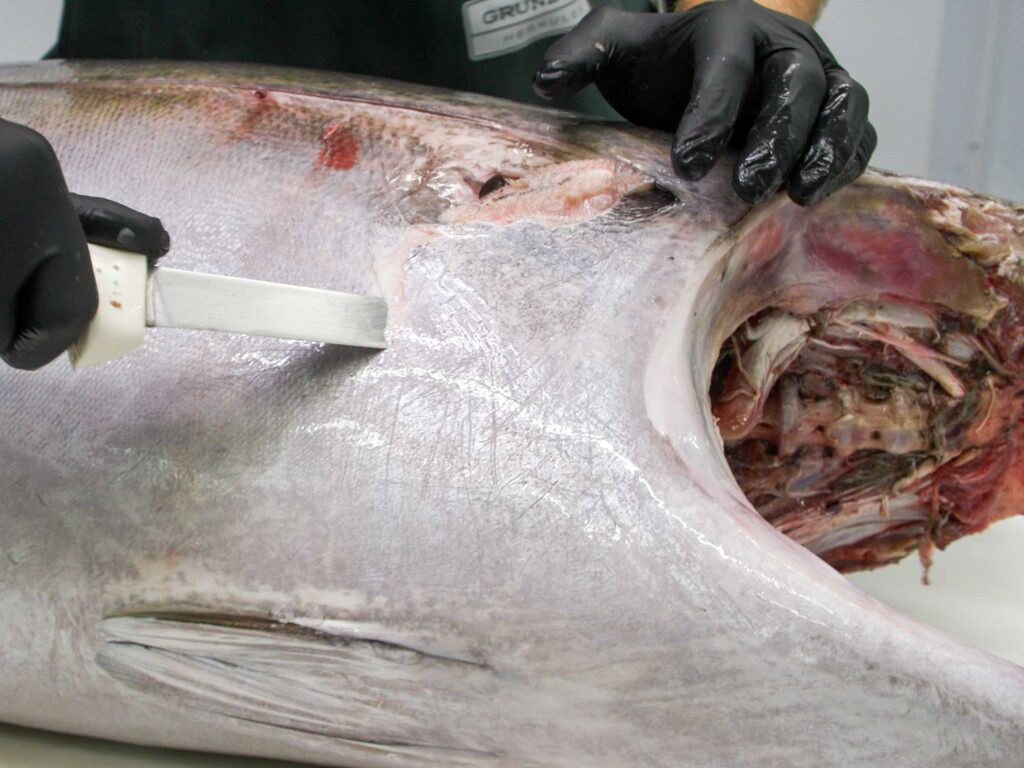
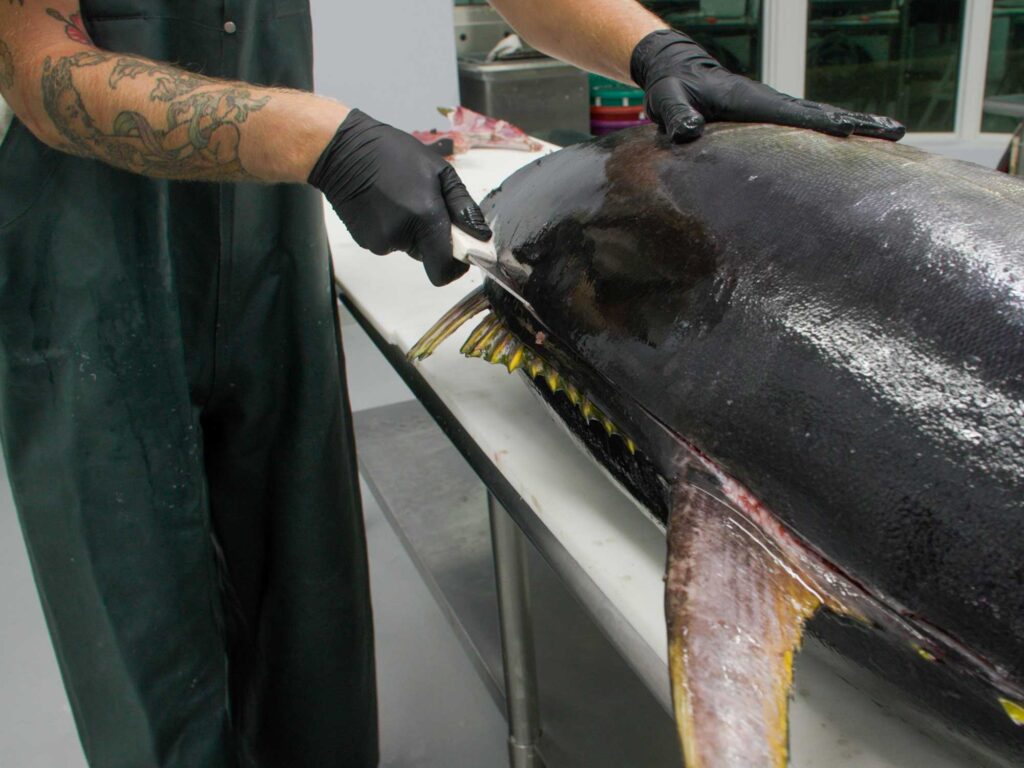
Begin by outlining the collar and cutting behind the head down to the spine. With a firm grip, pull the nose of the tuna toward the dorsal fin to detach the head. This step sets the stage for further filleting.
Navigate Tough Skin and Muscles
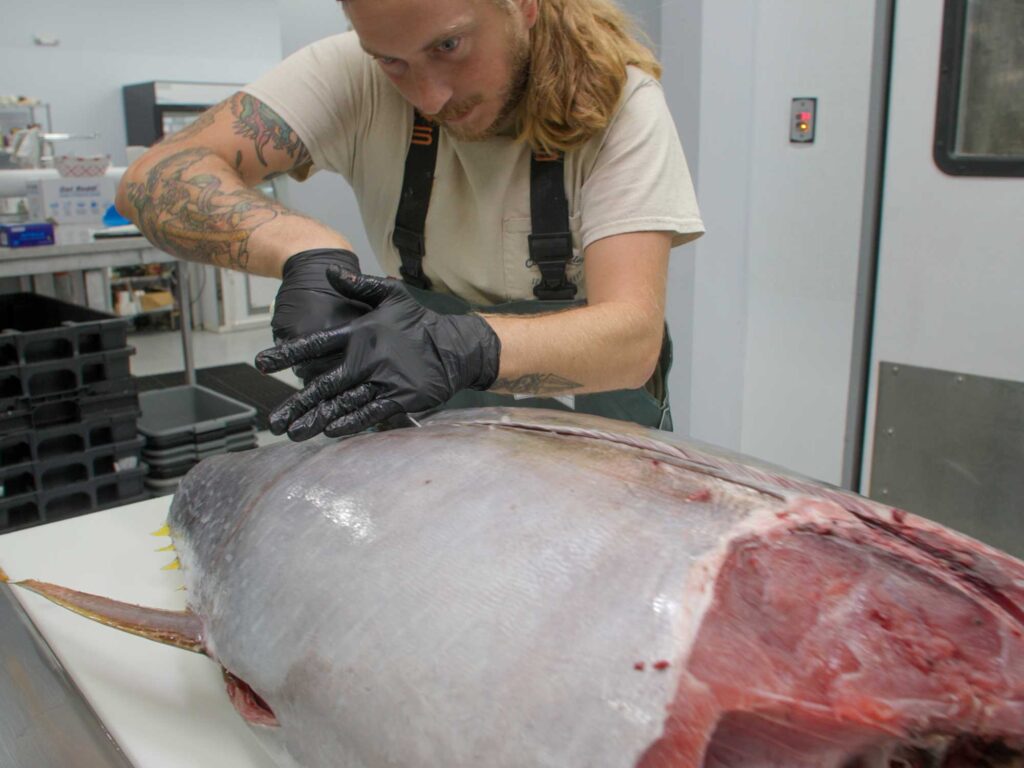
Tuna skin can be challenging to cut, especially behind the head and around the dorsal fin. Using a serrated knife, make an initial cut to break through the tough skin. Once you’ve created an opening, cutting to the backbone becomes more manageable.
Release the High Loin
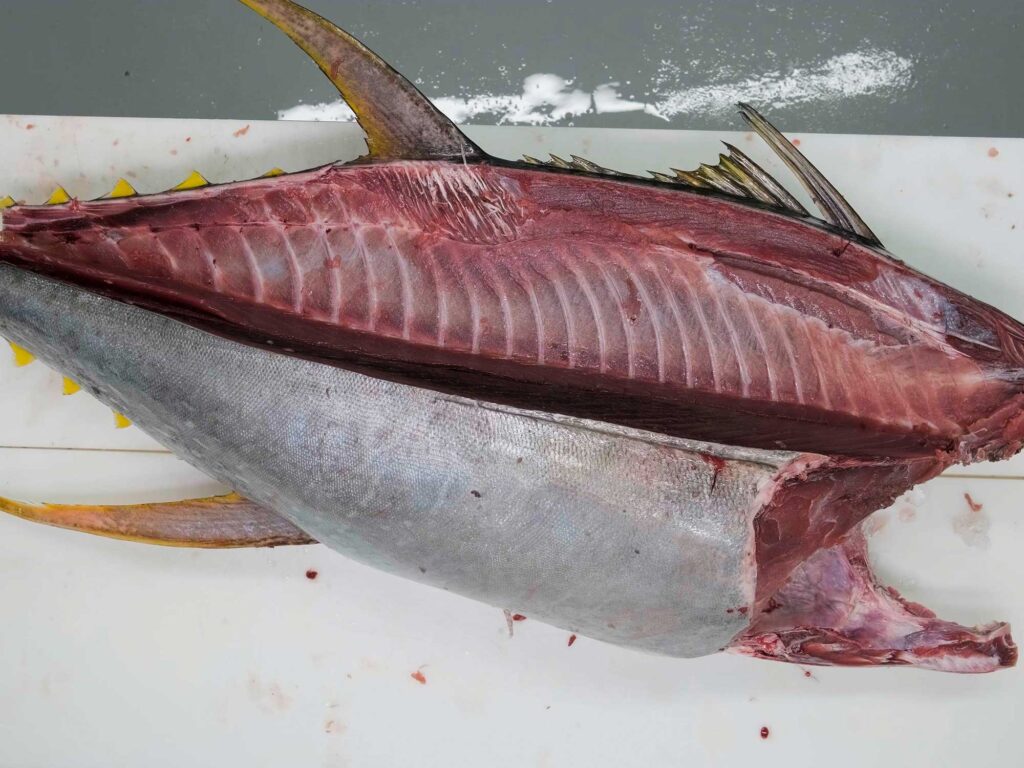
Identify the pin bone line at the top of the high loin and cut along its inside down to the tail. With precision, the high loin will separate effortlessly from the fish, ready to be enjoyed.
Recipe: Yellowfin Tuna Tostada
Remove the Low Loin
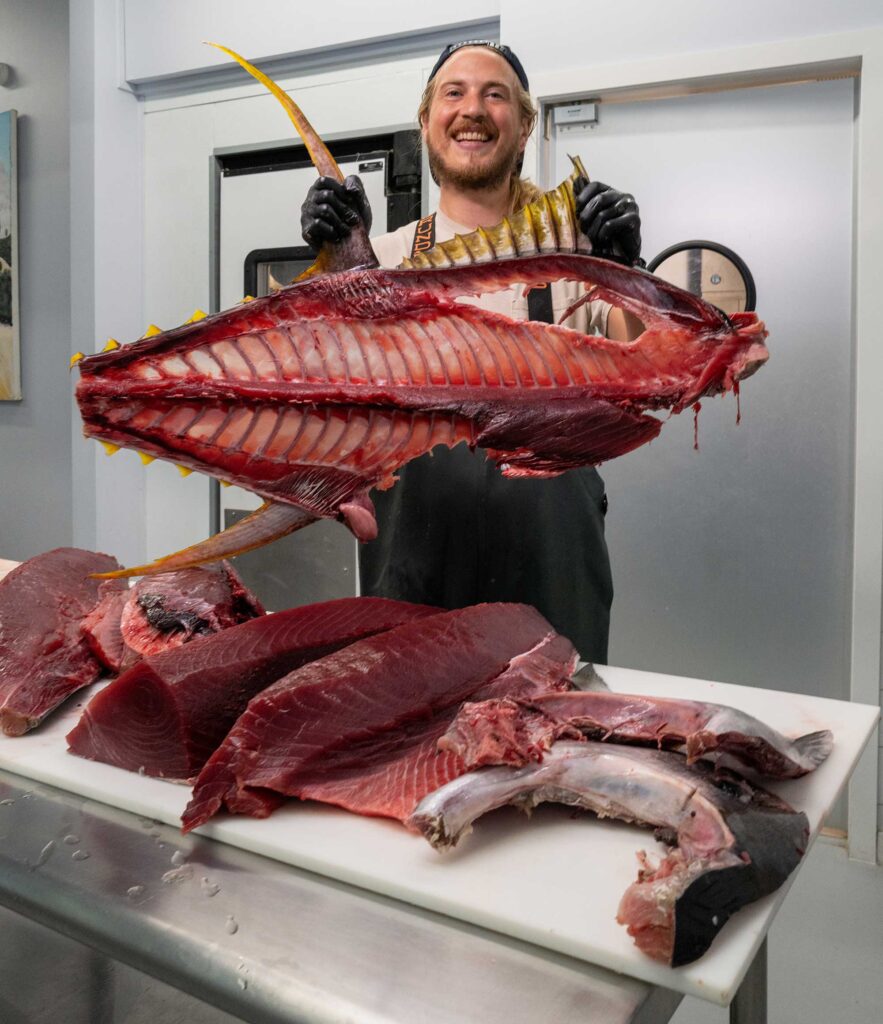
Utilize your serrated knife to break the pin bone line at the base near the skeleton. Once the pin bone line is broken, cutting off the low loin becomes a straightforward task, completing the filleting process.
Filleting a yellowfin tuna may seem daunting, but with the right approach, it becomes a manageable task. By following these steps, you can confidently prepare your day’s catch, ensuring a rewarding experience from ocean to table. Embrace the journey, savor the flavors, and relish in the satisfaction of a job well done.

